Still unsure about how to choose a car injector tester and cleaner? When your beloved vehicle starts experiencing issues like reduced power, increased fuel consumption, or difficulty starting, it’s likely that the fuel injectors are clogged with carbon deposits or impurities. A high-efficiency fuel injector cleaner machine is the perfect tool to tackle these problems. If you’re considering getting an MRCARTOOL fuel injector tester but aren’t sure which model best suits your needs, whether you’re a car owner or an automotive technician, this blog will help you make the right choice.
Buying Advice
For Personal Users
Recommended Model: MRCARTOOL V308
The MRCARTOOL V308 is a professional four-cylinder car injector tester and cleaner. It is capable of cleaning and testing fuel injectors for gasoline vehicles and motorcycles, but it does not support high-pressure injectors.
For Workshop
Recommended Model: MRCARTOOL V209,V309,V310,V311
These models can clean and test standard injectors, GDI injectors, FEI injectors, and FSI injectors. They are suitable for direct injection engines from brands such as Mercedes-Benz, BMW, Audi, Porsche, and Ford. Multiple voltage modes are available, including 12V, 70V, and 120V.
Kind tips: You can clean diesel injectors, but you can’t test them.
How to choose cleaning fluid
For ultrasonic cleaning liquid, please use a professional fuel injector carbon deposit cleaning fluid. Make sure to add the cleaning liquid before activating the ultrasonic function to avoid running the equipment without fluid, which could damage the ultrasonic system.
How to choose Testing fluid
For fuel injector testing liquid, it is recommended to use alcohol with a concentration greater than 95% (isopropyl alcohol or ethanol) or a professional injector testing fluid. Avoid using any liquids with corrosive properties for testing (especially cleaning liquids), as corrosive liquids can cause damage to the equipment’s components, such as corrosion or malfunctioning pumps.
After using the testing liquid for some time, it will accumulate many impurities. Avoid using testing liquids that contain contaminants, as they can easily clog the fuel injectors. When replacing the testing liquid, first open the testing liquid valve to drain out the used liquid. After it is fully drained, add a small amount of clean testing liquid to flush the internal system. Once the cleaning is complete, close the testing liquid valve and pour in fresh testing liquid.
If the equipment will not be used for a long period, it is recommended to recover the testing liquid. This helps prevent carbon-containing fluid from corroding the internal components of the equipment.
How to Use the Injector Cleaning Function
Ultrasonic Cleaning Tutorial
Step 1: Connect the fuel injectors to the pulse signal wires. For GDI injectors, an adapter cable is required.
Step 2: Install and close the recovery valve properly before adding the cleaning fluid to prevent leakage.
Step 3: Add cleaning fluid until it just covers the cleaning rack.
Step 4: Power on the machine and select the ultrasonic cleaning function. Set the cleaning time to 10 minutes.
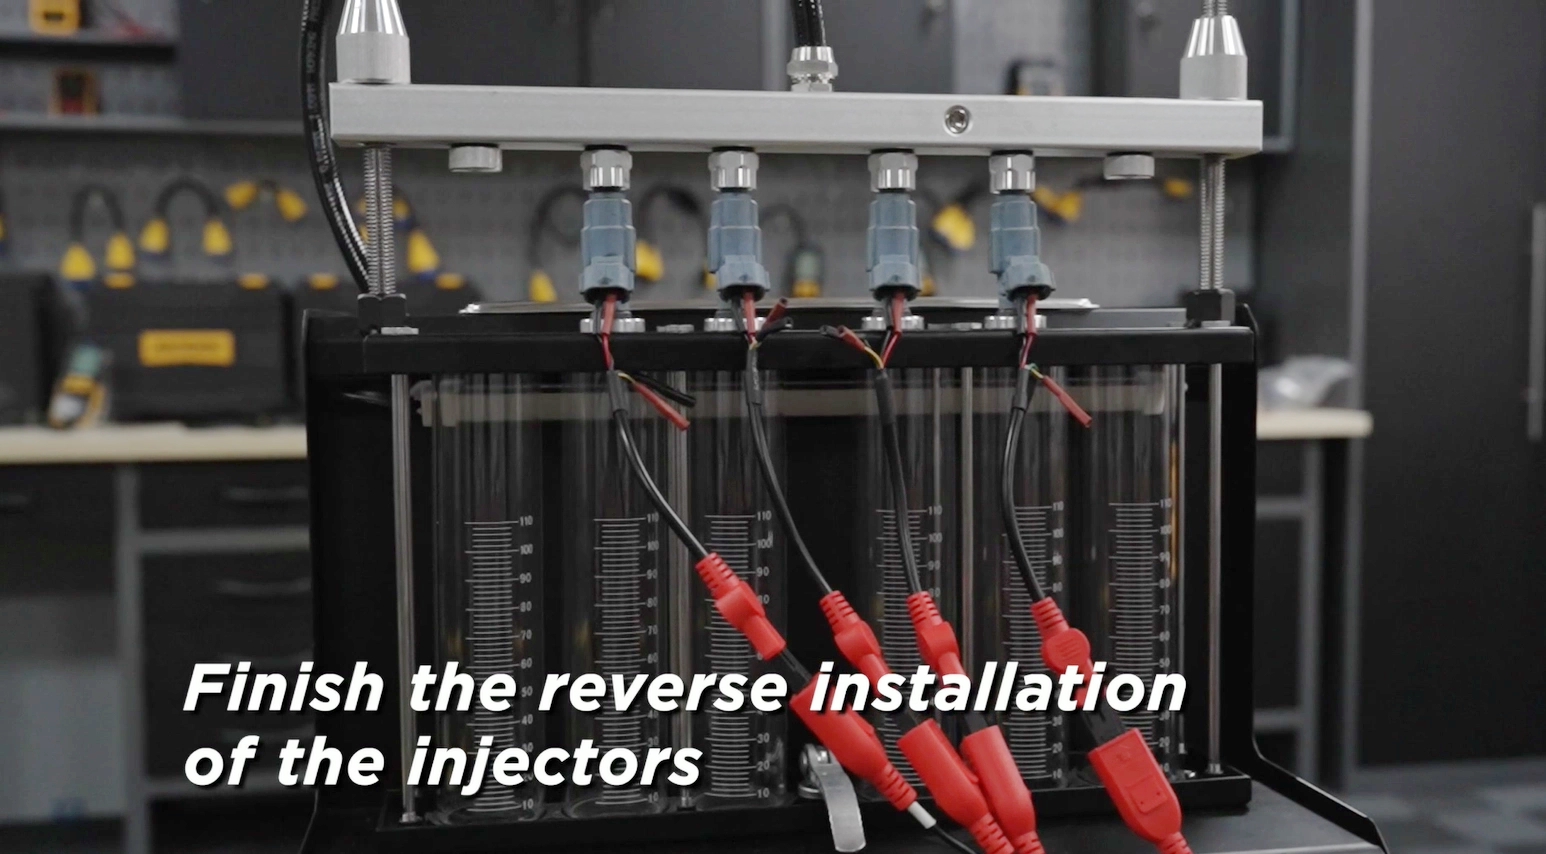
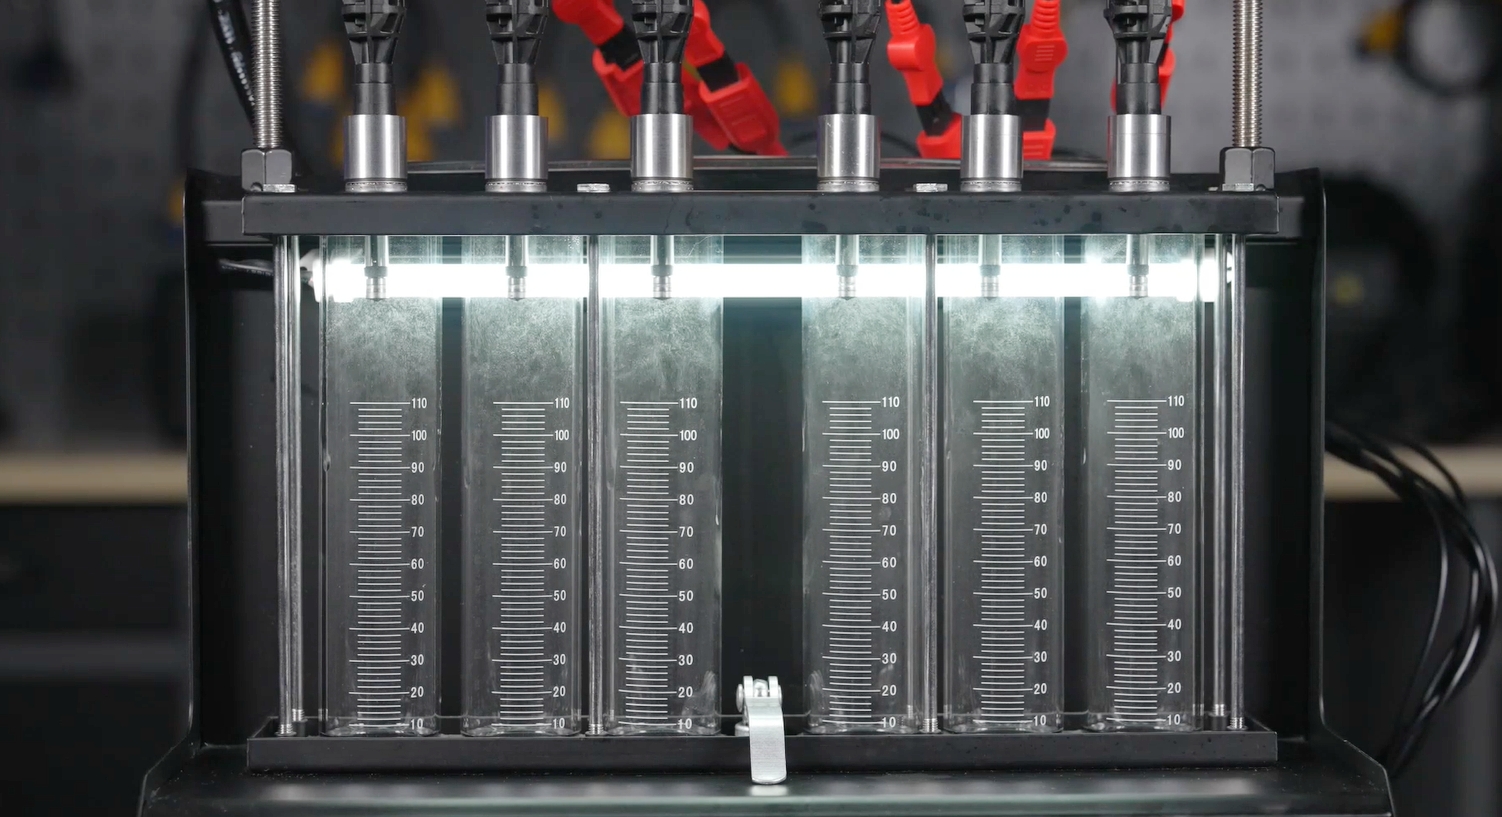
Reverse Flushing Tutorial
Step 1: Connect the appropriate adapter to the oil outlet of the fuel injector.
Step 2: Make sure to choose an adapter that fits properly; using the wrong size may cause fluid leakage during flushing.
Step 3: Install the support rack and the oil distributor.
Step 4: Connect the pulse signal wires. For shorter injectors, use extension cables as needed.
Step 5: Install the fuel injectors in reverse orientation, then select the reverse flushing function on the machine.
How to Use the Injector Testing Function
Fuel Injectors Testing Tutorial
Step 1: Pour the testing liquid into the filling port.
Step 2: Install the injector adapters and oil rail plugs into the oil distribution rail.
Step 3: Install the injectors in the forward position. (Apply a small amount of lubricant to the O-rings on the injectors)
Step 4: Mount the oil rail and injectors onto the upper mounting bracket. Secure them tightly using the fixing bolts and sleeves. The system is now ready for testing.
Step 5: Select the appropriate voltage mode—12V, 70V, or 120V—according to the type of injector you are testing.
Kind tips: Never use cleaning fluid as a substitute for testing fluid.
Conclusion
When choosing a car fuel injector tester and cleaner, whether you’re a cost-conscious car owner or a professional technician seeking high efficiency, selecting a equipment that truly fits your needs is essential. Proper use of the MRCARTOOL fuel injector cleaner machine can significantly improve injector performance, restore engine power, reduce fuel consumption, and extend engine life.
We hope this blog provides you with a clear direction for both purchasing and using your equipment, helping you easily tackle injector-related issues and keep both your vehicle and tools in top condition!
👉Contact our customer service team now to get more detailed information and professional advice on fuel injector cleaner machines and start your journey toward a more efficient repair experience!