Auto Repair Knowledge
Brake Pad Check in Minutes!
Squealing metal noises, longer braking distances, and sudden warning lights on the dashboard — these could all be warning signs from your brake pads. Brake pads in good condition are essential for safe driving. If not replaced in time, they can cause damage to the brake rotors or even lead to serious accidents.
So how do you perform a brake pad check? How often should brakes be replaced? And what is the brake pad replacement cost? No worries. This article will guide you step by step on how to quickly judge the condition of your brake pads, Helps you see right away if you need to replace your brake pads.
Brake Pad Check Methods:
1、Locate the inspection port: Turn the steering wheel all the way to one side. Through the gaps between the wheel spokes, look for the brake caliper (the silver metal clamp).
2、Check the thickness:
◦ Normal thickness: The brake pad material is more than 3 mm thick (roughly the thickness of two coins).
◦ Warning thickness: 3 mm or less (time to prepare for a replacement).
◦ Dangerous thickness: 1.5 mm or less (the metal backing plate is already rubbing against the brake rotor).
1、Squeaking or high-pitched metal noise: This indicates that the built-in wear indicator on the brake pad has started to rub against the brake rotor — a clear sign it’s time to replace the pads.
2、Grinding or scraping sound: This indicates the brake pads are completely worn out, and the metal backing plate is rubbing directly against the rotor. Immediate repair is needed.
💡 Note: Unusual sounds during rainy weather or for a short time may be caused by small stones getting stuck. However, persistent noise should be taken seriously.
1、After parking, gently touch the wheel hub with the back of your hand (do not use your palm to avoid burns).
2、If one wheel feels significantly hotter than the others, it may indicate that the brake pad on that wheel isn’t retracting properly, leading to abnormal wear.
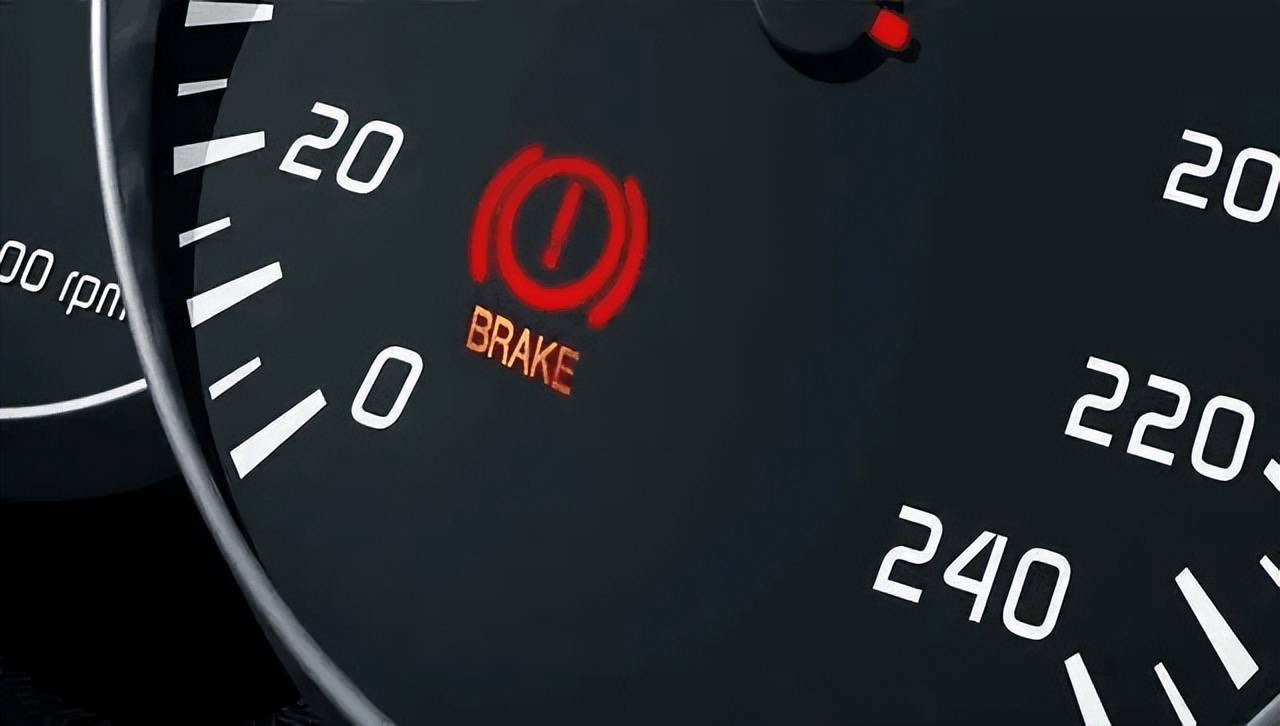
Some vehicle models are equipped with brake pad wear sensors. When the warning light on the dashboard turns on, This means you need to replace the brake pads.

How often should brakes be replaced?
1、Thickness ≤ 3 mm:Schedule replacement within 1 month
2、Warning noise or dashboard warning light on: Replace within 1 week.
3、Thickness ≤ 1.5 mm: Stop driving immediately! Call for towing and repairs.
4、Noticeably longer braking distance: Perform a complete inspection of the braking system.
Important Notes (Avoid Common Mistakes)
1. Do not replace brake pads on only one side. Always replace the brake pads on both wheels of the same axle as a pair.
2. New brake pads need a break-in period. Avoid sudden braking within the first 200 kilometers after replacement.
3. Environmental disposal. Used brake pads contain heavy metals and You should give your discarded brake pads to a professional organization for recycling.
When Must You Go to the Workshop?
If any of the following situations occur, do not attempt DIY repairs.
Take your vehicle to a professional workshop immediately:
• Brake pedal feels soft or goes to the floor and shakes violently.
• Brake fluid leak. (check the brake fluid reservoir in the engine bay)
• Electronic parking brake or new energy vehicles. (require specialized equipment for reset)
What is the Brake Pad Replacement Cost?
The exact cost depends on your location and the car model. You can search for “brake pad replacement cost near me” to find out more specific pricing in your area.
Learning the brake pad check methods in this article will help you regularly inspect and replace your brake pads. This not only saves you hundreds of dollars in inspection fees but also ensures your driving safety!